

Replacing rotten boat floors – step-by-step

Replacing the rotten floors in your boat is an important maintenance task that ensures safety, prolongs the lifespan of your vessel, and enhances the overall aesthetic appeal. Over time, exposure to water and moisture can lead to deterioration, compromising not just the appearance, but also the structural integrity of your boat. By following a methodical approach, you can successfully replace the damaged flooring and ensure that your boat remains seaworthy.
This guide will provide you with a thorough, step-by-step process to tackle the floor repair with confidence. We will discuss the necessary tools, materials, and techniques that will not only streamline the replacement process but also yield professional results. Each step is designed to help you understand the procedure and highlight the importance of safety and accuracy during your repair.
Whether you are a seasoned boat owner or a novice enthusiast, understanding the fundamentals of boat floor repair is essential. From assessing the extent of the damage to choosing the right materials, this guide will help you navigate the intricacies of replacing rotten boat floors. By the end, you’ll be equipped with the knowledge to undertake this significant task, ensuring your boat is ready for many more adventures on the water.
Identifying Signs of Rot in Boat Flooring

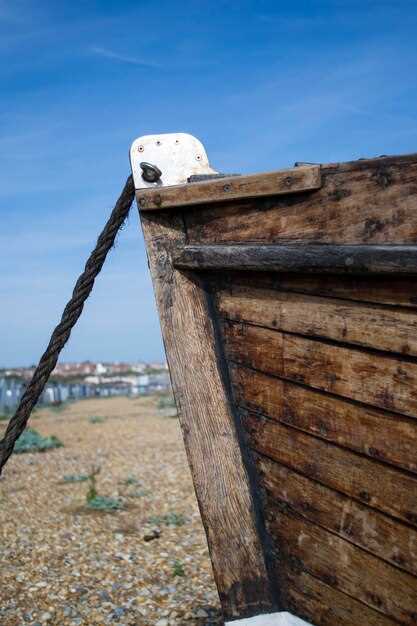
Recognizing the early signs of rot in boat flooring is essential for timely repair and prevention of further damage. One of the first indicators of rot is the presence of soft or spongy areas on the floor. If you notice sections that give way underfoot or feel unusually flexible, this may signal that the underlying wood is compromised.
Visual inspection is crucial in this guide. Look for discoloration, such as dark spots or patches. These can indicate moisture accumulation, which leads to rot. Additionally, check for any cracks or splitting in the flooring material; these gaps can allow water infiltration and enhance the decay process.
Another sign of rot is a musty or moldy odor emanating from the flooring. This smell suggests that moisture has been trapped, promoting fungal growth. It is also wise to examine the seams and joints, where water is most likely to seep into the flooring. Signs of swelling or bubbling at these connections often indicate rot forming underneath.
While inspecting, consider tapping or knocking on the flooring. A hollow sound may suggest that the wood is decaying. If possible, lift small sections of the flooring to reveal any underlying damage. These steps are crucial in detecting rot early, allowing for effective repairs and extending the life of your boat.
Tools and Materials Needed for Floor Replacement
When embarking on a project to replace rotten boat floors, having the right tools and materials is essential for a successful and efficient outcome. This guide outlines the necessary items to ensure a smooth floor replacement process.
Tools:
1. Circular Saw: A circular saw is crucial for cutting new flooring materials to size. Ensure you have a fine-tooth blade for cleaner cuts.
2. Reciprocating Saw: This tool is helpful for removing old, rotted wood and can easily navigate through tight spaces.
3. Drill/Driver: A power drill is necessary for securing screws and hinges in place as you work on your new floor.
4. Measuring Tape: Accurate measurements are vital when replacing floors, making a measuring tape indispensable for ensuring proper fitting.
5. Level: A level will help ensure that your new floor is even, preventing future issues with stability and water drainage.
6. Safety Gear: Goggles, gloves, and a dust mask should always be worn to protect yourself during the removal and installation process.
Materials:
1. Marine Plywood: This material is specifically designed for boat flooring. It’s resistant to moisture and rot, making it an ideal choice for replacements.
2. Epoxy or Marine Adhesive: Strong adhesives are vital for securing the new flooring to ensure it withstands the marine environment.
3. Sealant: A quality sealant will protect the edges and seams of the new floor, preventing water intrusion and rot.
4. Screws: Stainless steel screws are recommended due to their resistance to corrosion in a marine environment.
5. Underlayment: If desired, an underlayment can provide additional moisture protection and cushioning, extending the life of your new floor.
Having these tools and materials ready will streamline the process of replacing your boat floor, ensuring your vessel is safe and ready for your next adventure.
Step-by-Step Process for Installing New Boat Flooring
Replacing the flooring in your boat requires careful planning and execution. Start by removing the old, rotten flooring. Use a pry bar or similar tool to lift and detach the damaged sections. Ensure that you uncover the entire area for a thorough inspection of the underlying structure.
Once the old flooring is removed, assess the condition of the subfloor. Look for signs of damage or rot that may need repair before installing the new floor. Use wood filler or epoxy to repair any cracks or holes, ensuring a solid base for the new flooring material.
After the repairs are complete, clean the subfloor thoroughly. Remove any dust, debris, or leftover adhesive to prepare for a smooth installation. This step is crucial for ensuring that the new flooring adheres properly and lasts longer.
Next, measure the space where the new flooring will be installed. Cut the new flooring material to size, allowing for any necessary expansion gaps. Use a high-quality marine-grade adhesive suitable for wet environments to bond the new floor securely to the subfloor.
Carefully lay the new flooring, starting from one end and working your way across the space. Press down firmly to eliminate air bubbles and ensure a strong bond. Consider using a roller or a weighted object to help with even adhesion.
Allow the adhesive to cure according to the manufacturer’s instructions. This step is vital for a durable and long-lasting finish. After the curing period, inspect the installation for any imperfections or loose areas.
Finally, finish the edges of the flooring to provide a clean look and additional protection against moisture. You may choose to install trim or molding to complement the new floor and enhance the overall appearance of your boat.
With these steps completed, your boat floor will be ready for use, providing you with a safe and attractive space for your boating adventures.


