

Common brake problems and how to fix them

The braking system is one of the most critical components of any vehicle, ensuring not only the safety of the driver but also that of passengers and other road users. When issues arise within this system, it becomes essential to address them promptly. Ignoring common brake problems can lead to serious consequences, including reduced braking efficiency and potential accidents.
This article will explore common brake issues that vehicle owners may encounter, along with effective repair tips to resolve these problems. Whether it’s a squeaking noise, a spongy brake pedal, or inconsistent braking response, understanding the symptoms is the first step towards restoring your braking system’s functionality.
By diagnosing these issues early and applying the right solutions, you can ensure that your vehicle remains safe and reliable. From simple inspections to more complex repairs, this guide aims to provide practical advice for both novice drivers and seasoned automotive enthusiasts.
Squeaking or Grinding Noises When Braking
Squeaking or grinding noises when braking can indicate various issues within the brake system. These sounds should not be ignored, as they can be signs of wear or more serious problems. Understanding the potential causes and solutions is essential for maintaining your vehicle’s safety and performance.
- Brake Pad Wear: One of the most common reasons for squeaking is worn brake pads. When the friction material on the pads wears down, metal indicators can make contact with the rotor, producing a squeaking sound.
- Moisture or Dirt: Accumulation of moisture, dirt, or debris on the brake components can also create noise. This is usually temporary and may resolve itself after driving for a short period.
- Low-Quality Brake Parts: Using low-quality or incorrect brake parts can lead to noise. Premium brake pads often have features that minimize sound production.
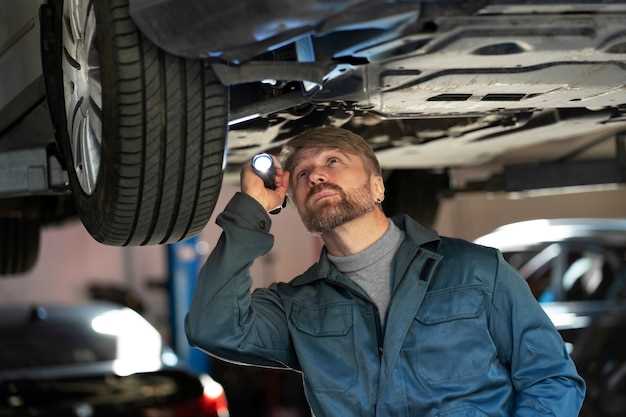
- Caliper Issues: A sticking caliper can cause the pads to wear unevenly, resulting in grinding noises. This issue requires immediate attention to prevent further damage.
- Worn Rotors: Grooves or scratches on brake rotors can create grinding sounds when the pads make contact. In some cases, resurfacing or replacing the rotors may be necessary.
To address these issues, the following steps can be taken:
- Inspect brake pads for wear and replace them if necessary.
- Clean the brake components to remove dirt or debris.
- Use high-quality brake parts that are suitable for your vehicle.
- Check the calipers for proper function and replace them if they are sticking.
- Examine the rotors for damage and resurface or replace if required.
If you are unsure about diagnosing or repairing the problem, it is advisable to consult a professional mechanic. Timely attention to squeaking or grinding noises can prevent more extensive and expensive repairs down the line.
Brake Fluid Leaks and Their Consequences
Brake fluid leaks can pose significant risks to your vehicle’s braking system. When brake fluid escapes from the system, it can lead to decreased hydraulic pressure, ultimately compromising the effectiveness of the brakes. This situation not only jeopardizes your safety but also affects overall vehicle performance.
Identifying a brake fluid leak often involves noticing fluid puddles beneath the vehicle or experiencing a soft brake pedal while driving. The latter can indicate that air has entered the brake lines, which can further impair braking ability. It is crucial to act promptly when a leak is suspected to prevent potential accidents.
Regular inspection of brake lines, master cylinders, and brake calipers can help detect leaks early. Keeping an eye on brake fluid levels can also provide insight into potential issues. If the fluid level is consistently low, it may signal a leak needing immediate attention.
For those facing a brake fluid leak, the first step is to locate the source. Common culprits include damaged hoses, improper connections, or worn-out seals. Repairs may require replacing faulty components or tightening connections within the system. Always ensure that the brake fluid used for refills matches the manufacturer’s specifications for optimal performance.
To avoid brake fluid leaks, consider these tips: regularly maintain your braking system, check for wear and tear, and replace old or damaged components proactively. By taking these preventive measures, you can enhance the longevity of your brake system and ensure safer driving experiences.
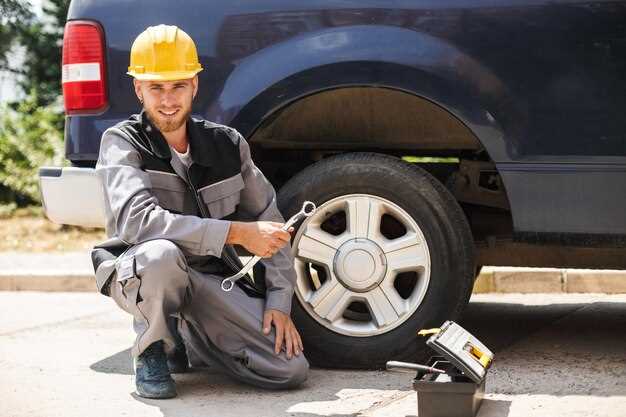
Worn Brake Pads and How to Replace Them
Worn brake pads are a common issue that can compromise your vehicle’s braking system. Not only do they reduce braking efficiency, but they can also lead to more serious problems if left unaddressed. Recognizing the signs of worn brake pads is crucial; these include squeaking or grinding noises, decreased stopping power, and a spongy brake pedal. If you notice any of these symptoms, it’s essential to act promptly to repair the problem.
Replacing worn brake pads is a task that many car owners can handle with some basic tools and knowledge. First, gather the necessary tools: a jack, jack stands, a lug wrench, a c-clamp, and the new brake pads. Begin by safely lifting your vehicle and removing the wheel to gain access to the brake assembly.
Next, remove the caliper that holds the brake pads in place. This typically involves unscrewing the caliper bolts. Be cautious with the caliper to prevent straining the brake line. Once the caliper is detached, carefully remove the old brake pads. Check for any additional wear on the rotor and ensure it’s in good condition; if the rotor is also worn, it may need to be resurfaced or replaced.
Before installing the new pads, compress the caliper piston using the c-clamp. This will create enough space to accommodate the new pads. Then, place the new brake pads into the caliper bracket, ensuring they are positioned correctly. Reattach the caliper, tightening the bolts securely to ensure the system is firmly in place.
After both sides are completed, reattach the wheel, lower your vehicle, and pump the brake pedal a few times to ensure proper engagement of the brake pads. It’s important to test the brakes gently in a safe area after the repair to ensure everything is functioning correctly. Follow these tips for regular inspection and maintenance to prolong brake life and ensure safe driving.


