How to change the oil in a boat engine

Regular maintenance is essential for any vessel owner, and one of the most critical tasks is to change the engine oil. Whether you are a seasoned sailor or a beginner in the marine world, understanding how to properly change your boat’s engine oil is vital for ensuring peak performance and longevity. Neglecting this task can lead to significant issues down the line, including engine wear, overheating, and reduced efficiency.
This step-by-step guide will walk you through the process of changing boat engine oil, highlighting the tools required, recommended oil types, and safety precautions to consider. By following these instructions, you will not only enhance your boat’s reliability but also gain confidence in performing basic maintenance tasks.
In the marine environment, conditions can vary, and regular oil changes become even more critical. Saltwater exposure, temperature fluctuations, and heavy usage can all contribute to oil breakdown. Thus, knowing when and how to change your engine oil will keep your engine running smoothly and efficiently throughout the boating season.
Choosing the Right Engine Oil for Your Marine Engine

When it comes to maintaining your marine engine, selecting the appropriate oil is crucial for optimal performance and longevity. Marine engines operate under different conditions compared to standard automotive engines, necessitating specific oil formulations that can withstand harsh environments.
Firstly, consider the viscosity rating of the oil. Marine engines often require oils with multi-viscosity ratings, such as 10W-30 or 15W-40, to provide effective lubrication across a range of temperatures. The right viscosity ensures that the oil can flow easily at startup and maintain thickness at high operating temperatures.
Next, look for oils specifically designed for marine applications. These oils contain additives that combat corrosion, which is essential in a saltwater environment. Marine oils also help prevent the buildup of harmful deposits and maintain the cleanliness of your engine.
Always opt for oil that meets or exceeds the American Petroleum Institute (API) standards for marine engines. Certain oils are also NSF certified, indicating they meet stringent quality requirements for use in watercraft, further ensuring their reliability.
It is essential to check the manufacturer’s recommendations for your specific engine model. They provide guidelines on the right type and grade of oil. Adhering to these suggestions will help you avoid potential engine damage and fulfill warranty requirements.
Finally, consider seasonal factors. If you operate your boat in varying temperatures or climates, you may need to choose a different oil based on the changing conditions. Regular oil changes, typically every 100 hours of operation or annually, will also help maintain engine performance and efficiency.
Tools and Materials Needed for an Oil Change
Changing the oil in your boat’s engine is essential for its maintenance and longevity. To undertake this task, you will need specific tools and materials to ensure a smooth process. Below is a detailed list of everything you will need:
- Engine Oil: Select the right type and viscosity for your engine. Refer to the owner’s manual for specifications.
- Oil Filter: Purchase a new oil filter compatible with your engine model. Replacing the filter is crucial during an oil change.
- Oil Drain Pan: A large, suitable-sized pan is essential for catching the old oil as it drains from the engine.
- Wrench Set: A set of wrenches will be necessary to remove the oil drain plug and the oil filter. Ensure you have the correct sizes.
- Funnel: Use a funnel to pour new oil into the engine without spilling.
- Shop Rags or Towels: Keep some rags handy for cleaning up spills and wiping tools.
- Oil Filter Wrench: This tool can make removing the old oil filter easier and more efficient.
Before you begin the oil change, gather all the necessary tools and materials to streamline the process. Having everything at hand will minimize downtime and ensure that you can complete the task efficiently.
Step-by-Step Process for Draining and Replacing Engine Oil

1. Gather Essential Tools and Materials: Before starting the oil change process, ensure you have all necessary tools. You will need an oil catch pan, a socket wrench, a new oil filter, fresh engine oil, and a funnel. Additionally, have rags or paper towels on hand for cleanup.
2. Prepare the Boat: Dock your boat in a stable position. Ensure the engine is turned off and cooled down to avoid burns. It’s best to perform the oil change on calm waters or in a well-ventilated area.
3. Locate the Oil Drain Plug: Check your owner’s manual to find where the oil drain plug is situated on your engine. It is typically located at the bottom of the oil pan.
4. Drain the Old Oil: Place the oil catch pan under the drain plug. Using the socket wrench, carefully unscrew the drain plug and let the old oil flow into the pan. Allow sufficient time for all oil to drain completely.
5. Replace the Oil Filter: While the oil is draining, locate the oil filter, which might require an oil filter wrench for removal. Once removed, ensure the rubber gasket from the old filter is not stuck to the engine. Apply a little new oil to the rubber gasket of the new filter before installing it.
6. Reinstall the Drain Plug: Once all old oil has drained, replace the drain plug securely to prevent leaks. Ensure it is tightened but avoid overtightening.
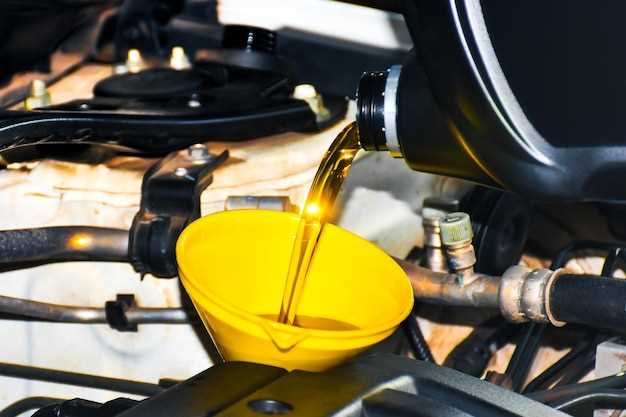
7. Add New Engine Oil: Using a funnel, pour the new engine oil into the designated fill hole. Refer to your owner’s manual for the correct oil type and quantity. Allow the oil to settle for a moment before checking the dipstick.
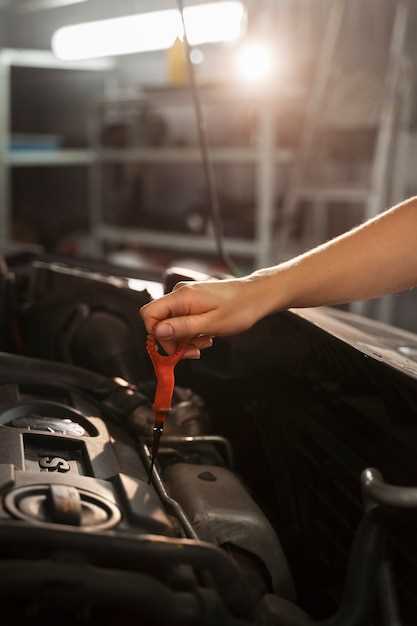
8. Check Oil Level: Remove the dipstick, wipe it clean, and reinsert it to check the oil level. Add more oil if necessary to reach the recommended level.
9. Start the Engine: Start your boat’s engine and let it run for a few minutes. This process helps circulate the new oil and checks for any leaks around the oil filter or drain plug.
10. Dispose of Old Oil Properly: After completing the oil change, ensure that the old oil is disposed of correctly. Take it to a recycling center or a designated collection point to avoid environmental hazards.


