
How to restore an old fishing boat from scratch

Restoring an old fishing boat can be a rewarding DIY project for marine enthusiasts and hobbyists alike. Whether you’ve stumbled upon a dilapidated vessel in a backyard or inherited a family heirloom, the process of bringing an old boat back to life requires patience, dedication, and a clear plan. This guide will walk you through the steps necessary to transform that once-neglected fishing boat into a seaworthy craft once again.
The journey begins with an understanding of the marine environment and the specific challenges that come with working on boats. Marine materials are often exposed to harsh conditions, which can cause significant wear and tear over the years. By following this step-by-step guide, you will learn how to assess your boat’s condition, gather the right tools, and implement effective restoration techniques to ensure longevity and safety.
Throughout this guide, you will find detailed instructions on various aspects of boat restoration, from repairing the hull to updating the electrical systems. With each step, you will gain the knowledge necessary to tackle even the most daunting tasks associated with boat restoration. By the end of the process, not only will you have a beautifully restored fishing boat, but you will also gain valuable skills and a deeper appreciation for the maritime craftsman’s art.
Assessing the Current Condition and Planning the Restoration
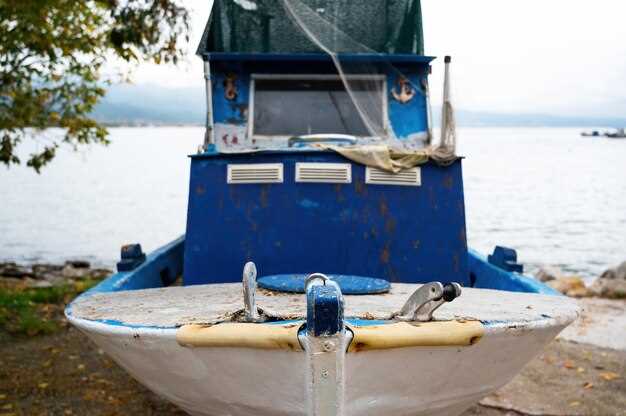
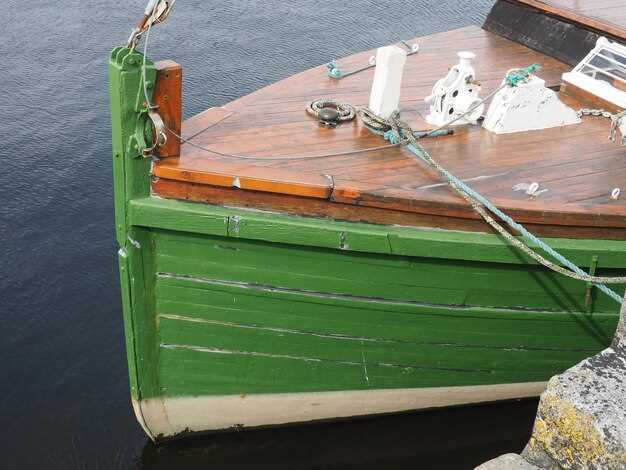
Before embarking on a restoration project, it is essential to thoroughly assess the current condition of the boat. Start by examining the exterior for signs of damage such as cracks, rot, and rust. Check the hull for any soft spots that may indicate structural issues, and inspect the keel and transom for integrity. Each component should be evaluated for its potential to be repaired or if it requires replacement.
Next, move on to the interior. Look for water damage, mold, or any signs of pests. Inspect the flooring, bulkheads, and cabinetry to determine the extent of restoration needed. Make a detailed list of all the issues found during this inspection, categorizing them by priority. This step will help you identify the scope of the diy project and inform your budget and timeline.
Once the assessment is complete, begin planning your restoration. Create a clear outline of each task needed to restore the boat. This could include structural repairs, electrical work, and cosmetic updates. Research materials and tools required for each step, ensuring you have everything on hand before starting. Be realistic about your skills; if certain tasks exceed your abilities, consider consulting a professional.
With a comprehensive plan in hand, you can proceed with confidence. A well-thought-out strategy not only streamlines the restoration process but also enhances your overall enjoyment of the diy adventure. Stay organized throughout the project to track progress and make adjustments as needed.
Repairing Structural Issues and Replacing Damaged Components
Repairing structural issues in a marine boat requires careful assessment and a methodical approach. Start by inspecting the hull for cracks, soft spots, or rot. Use a moisture meter to identify areas with excessive moisture, which can indicate underlying damage. If any structural weaknesses are detected, it’s crucial to address them promptly to ensure the boat’s integrity and safety on the water.
Begin repairs by removing the damaged sections of the hull. Utilize a saw appropriate for marine materials, ensuring clean cuts to avoid further damage. Once the damaged parts are removed, prepare the area for new material. Clean any debris and treat exposed surfaces with a marine epoxy or sealant to prevent future moisture ingress.
Next, you will need to replace the removed components. For wooden boats, this means crafting new pieces from marine-grade plywood or solid wood that matches the original construction. For fiberglass boats, cut out a new fiberglass patch that fits the removed area. Use a combination of fiberglass resin and cloth to secure the new piece in place, allowing ample time for curing as per the manufacturer’s instructions.
After the new components are secured, sand the repaired areas smooth and apply a layer of gel coat or paint to protect them from the elements. Ensure that the finish is compatible with the rest of the boat to maintain a uniform appearance. Regularly inspect these repairs to catch any potential issues early, ensuring the boat remains functional and safe for future outings.
Remember, proper ventilation and protective equipment are essential when working with marine adhesives and coatings. Always follow safety guidelines while performing DIY repairs to create a safe working environment.
Finishing Touches: Painting, Sealing, and Preparing for Launch
The final phase of your boat restoration involves essential steps to ensure your marine vessel is not only aesthetically pleasing but also protected against the harsh elements. Proper painting and sealing are crucial for the longevity and performance of your boat.
Begin by selecting high-quality marine paint designed for the specific materials used in your boat. This paint should resist fading, peeling, and corrosion, ultimately prolonging the life of your restoration. Thoroughly clean the surface, removing any dust or old paint remnants, and sand it lightly to promote adhesion. Apply a primer suited for marine use; this will create an ideal foundation for the paint.
Once the primer is dry, choose a color that reflects your personal style while considering visibility on the water. Use a roller or brush designed for marine applications to apply the paint evenly. Allow sufficient drying time between coats, typically two to three layers, to achieve a rich and durable finish.
After the painting process is complete, focus on sealing. Use marine-grade sealants on all joints and potential leak areas, such as around hatches, fittings, and seams. This step is critical to prevent water ingress and ensure the structural integrity of your boat. Apply the sealant generously, then smooth it out for a clean finish.
Next, inspect all hardware, lines, and marine accessories to confirm they are secure and functional. Check for any maintenance needs, such as lubrication of moving parts or replacement of worn components. Ensuring everything is in top condition is vital for a safe launch.
As you prepare for the launch, ensure the boat is adequately equipped with safety gear, navigational tools, and essential supplies. A thorough checklist can prevent any last-minute surprises. Once everything is secured, you’re ready to launch your beautifully restored boat, a perfect blend of artistry and functionality that’s set to meet the open waters.


